Know about the hip problems that affect many people, the Yin yoga sequences that can remedy them, and how to avoid mistakes while performing the sequences.
Introduction
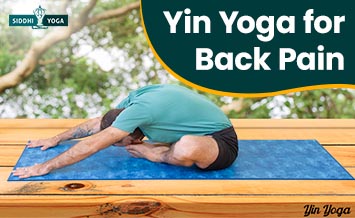
It is expected that about 80% of adults will suffer from back pain at some point in their life, reports an American Chiropractic Association article. However, the pain may not always stem from issues relating to your spine or back.
One of the reasons could even be tight hips. Yin yoga for hips can help alleviate the pain and discomfort caused by tight hips and duly open the hips to improve flexibility. The hip-opening poses can also release the stess stored in the area and the resultant blockages in vital energy.
Top Hip Problems Today
Stiff hips could result from a chronic medical condition, injury, or tight hip muscle.
Some of the chronic medical conditions that can lead to hip stiffness include rheumatoid arthritis, osteoarthritis, ankylosing spondylitis, inflammatory or trochanteric bursitis, Lyme disease, tendinitis, and avascular necrosis of the hips, Legg-Calve-Perthes disease.
Labral tears or rips in the labrum, the cartilage that covers the hip socket, can also cause hip stiffness.
Our hips are supported by many different muscle groups that are attached across the pelvic girdle – such as the iliopsoas group, the adductor group, the gluteal group, and the external rotators of the hip.
Many people today lead sedentary lifestyles with long hours in front of the computer.
Being bound to the desk can lead to hip muscles being in constant contraction, which can result in tightness or pain. Weakened muscles due to lack of exercise can also be a cause of pain.
Sometimes the nerves and connective tissue around the muscles can become inflamed or irritated and add to the discomfort.
What we can Infer?
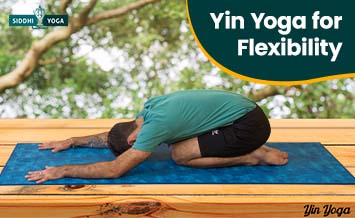
Sedentary lifestyles have given rise to a host of hip conditions and problems that have significantly reduced flexibility, mobility, and the overall quality of life for people all over the world.
Yin Yoga Solution for Hips
Yin yoga poses and sequences for hips should be an essential addition to everyone’s exercise routine for long-term hip health and mobility.
Yin yoga for hips is an excellent practice to open the hips and stretch connective tissue, relax nerves, release tight hips and restore energy flow.
The gentle stretching and lengthening poses included in Yin yoga hip sequences can relieve the pain and discomfort associated with tight hips.
Yin yoga hip openers build core strength, improve overall flexibility, and increase range of movement.
The pelvic and hip joint area connects the upper and lower body and is important for all types of movements. Hips are ball-and-socket joints that allow for a greater range of motion than other joints.
It allows for adduction, abduction, flexion, and extension. Opening the hips from the front, back, and sides through Yin yoga can prevent any undue injury during difficult movements in daily life.
It is also a good idea to focus on the hip area to improve your overall yoga practice. If hips are not flexible or open enough, many yoga poses can be restricted by the decrease in range of motion.
You will notice that the more stable and open your hips are, the better your balance is. Loosening up the hips and releasing tightness can also improve the impact of hip-strengthening exercises.
Takeaway
Yin yoga poses for hips can reduce stiffness, improve flexibility and prevent blockages in the flow of vital energy around the hips.
Top Poses for Hips in Yin Yoga
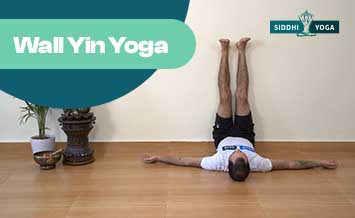
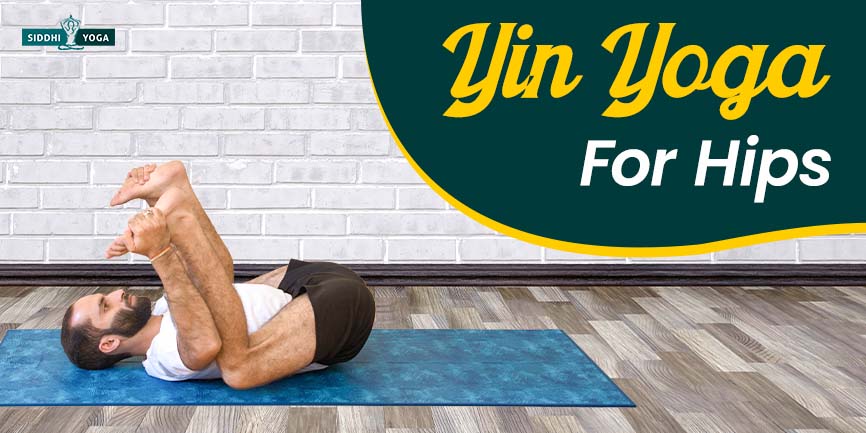
Happy Baby Pose
- Lie on your back.
- Gently bring both knees to your chest.
- Hold the outside edge of each foot – near small toes – with each hand.
- Tuck your chin into the chest.
- Try to get your back and spine flat on the floor by pressing your shoulders, back of the neck, tailbone, and sacrum into the floor.
- Opening your legs wider will give a deeper stretch to your hips.
- Breathe normally and hold for 1-3 minutes.
- To release, gently let go of the legs and stretch your arms and legs.
Benefits
The happy Baby pose stretches and realigns the spine, releases the low back, strengthens the legs, and opens the hips.
Word of Caution
Avoid this pose if you have inflammation or recent injury to your neck, shoulders, or legs, or if you have any chronic problem in those areas.
Shoelace Pose
- Sit with legs stretched on the floor.
- Draw your right foot under your left thigh.
- Stack your left knee over your right knee to the extent possible.
- Do not sit on your feet. Slide them away from your body as far as they can go.
- Try to sit on your buttocks. Place a cushion under your buttocks if unable to sit properly.
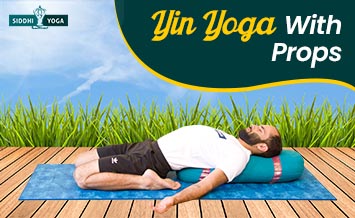
- Gently lean forward. Place a bolster on your chest for support.
- Your hands can be by the side of the body or stretched in front.
- If the bottom knee hurts, you can stretch your bottom leg.
- If the top knee hurts, place a cushion or bolsters under your knee.
- If the sensations in the knees and hips are too intense, remain upright.
- To come out of the pose, press your hands down on the floor, gently raise your body and stretch your legs.
Benefits
This pose helps in decompressing the lower back. Hip mobility is increased, especially the external rotation. When folding forward, the digestive organs are massaged by the compression.
Word of Caution
This pose puts pressure on the knees and pelvis and can aggravate sciatica. Sit on a cushion and elevate your hips if you have sciatica.
Be careful of the hips rotating backward when sitting. Keep the spine straight if you have lower back problems. Pregnant women should not fold forward.
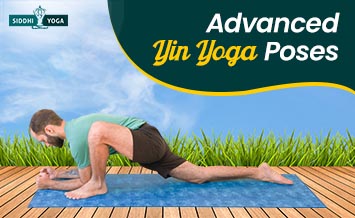
Frog Pose
- Start on all fours.
- Spread your knees wide and keep your feet together, pointing outward.
- Place paddings under your knees if they hurt.
- Your hips should be in line with your knees.
- Rest on your elbows or place your chest flat on the floor with your chin or forehead touching the floor.
- Rest the forehead on a bolster if your neck is stiff.
- Extend your arms or place them under your forehead.
- Experience the stretch in your inner thighs.
- Breathe normally and maintain the pose for 1-3 minutes.
- To release the pose, place your palms flat on the floor and gently push your upper body up.
- Bring your feet together and sit back.
Benefits
Opens the hip adductors and the groin. Provides gentle compression to the back. Relieves cramps and aids digestion.
Word of Caution
Practice the pose with care if you have back or neck problems.
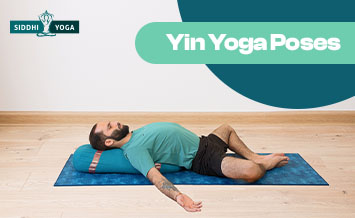
Butterfly Pose
- Sit with your legs stretched forward.
- Fold your knees and bring your feet close to your body so that the soles touch each other.
- Gently fold forward, rounding your spine.
- Elevate the pelvis with a cushion or blanket if your knees are above your hips. You can also use bolsters under your thighs for support.
- Keep your hands on your feet or on the floor in front.
- Breathe normally and hold for 1-3 minutes.
- Use the support of your hands to gently press on the floor to raise yourself up and release the pose.
- Stretch your legs out and relax.
Benefits
Loosens up your hips, inner thighs, and lower back. Reduces back pain, reduces stress levels, and improves reproductive health.
Word of Caution
Those with acute knee conditions such as a torn meniscus or anterior collateral ligament injury, worn-out knee joint, or rheumatoid arthritis should avoid this pose.
People who have undergone hip, knee, or ankle surgery should avoid the pose altogether.
Also See: Yoga Teacher Training Online
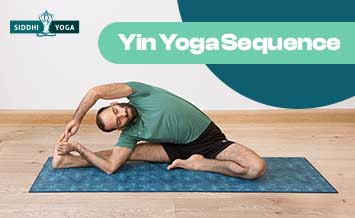
Top Yin Yoga Sequences for Hips
Listed below are some Yin yoga sequences to open the hips, improve flexibility, increase the range of movement, and build core strength.
While each Yin yoga pose impacts many areas of the body at the same time, when we combine poses in a sequence that targets a certain area, it multiplies the impact.
Sequence A
- Butterfly pose
- Dragonflies pose
- Shoelace pose
- Square pose
- Wide Knee Child’s pose
- Dragon pose
- Sleeping Swan pose
- Closed Knee Child’s pose
- Saddle pose
- Reclined twist
- Savasana
Sequence B
- Auspicious pose + meditation + forward bends + side stretches + twists
- Child’s pose (passive and active)
- Frog pose (half frog)
- Shoelace poses
- Swan and Sleeping Swan
- Dragon + variations
- Bridge pose
- Corpse poses
- Auspicious pose + meditation
Sequence C
- Child’s pose
- Dragon’s pose
- Twisted Dragon pose
- Sphinx pose
- Butterfly pose
- Reclining twist
- Corpse pose
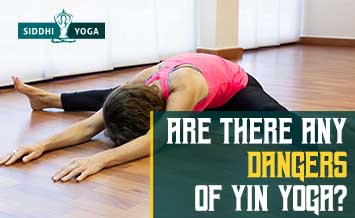
Mistakes to Avoid
In the normal course of our day-to-day activities, the hip undergoes considerable wear and tear. The hip joint is actively involved in the creation and stabilization of many movements.
If the hip joint undergoes an extreme range of motion constantly, the cartilage around it can be damaged, causing it to become inflamed and irritated, leading to pain.
Lunges, forward folds without the knees bent, etc can put pressure on the hip. Be aware of the limits of your hips’ range of motion.
Do not go too deeply into a pose and exceed your body limits. Always bend your knees slightly to take off the stress from the cartilaginous surfaces of the hip.
When performing a Yin yoga sequence for hips, remember to protect your knees. The knee can only flex and extend because it is a hinge joint.
It cannot rotate. Rotation comes from the hip, which is a ball-and-socket joint. You must pull in the shins towards the midline and avoid twisting the foot and ankle so that the knees are protected.
If you twist the foot, the outer ligament bears the brunt of the stretch and puts the knee at risk.
The Bottom Line
There are many benefits to be had by opening your hips with Yin yoga sequences for the hip – such as increased flexibility and mobility, management of pain, letting go of emotional stress, and clearing up of energy blockages.
Be sure to consult a medical professional before you take up Yin Yoga for the hips if you have medical problems in the area. And it’s best to learn the poses under the guidance of a trained teacher.
Our Online Course on Yin Yoga can help you get a very clear understanding of Yin poses, as the course is supplemented with video classes where you can see everything visually. Go to our course here.