Gha: Go
Asana: Pose
Parighasana at a Glance
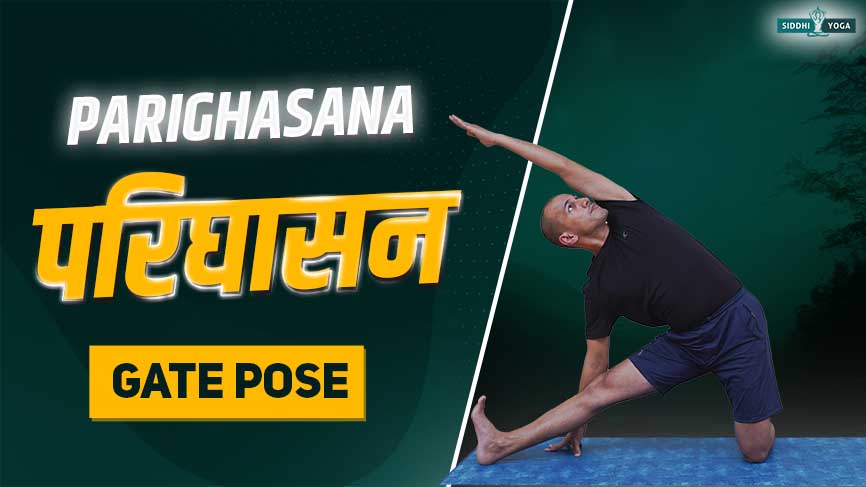
Parighasana is also called “Gate Pose” because the pose is a gateway to oxygen for those parts that need it the most but because of lifestyle, it has been obstructed. Parighasana is a great pose for stretching and opening up the lateral sides of the body, and it also helps to improve flexibility and mobility in the legs, hips, and core muscles.
Benefits:
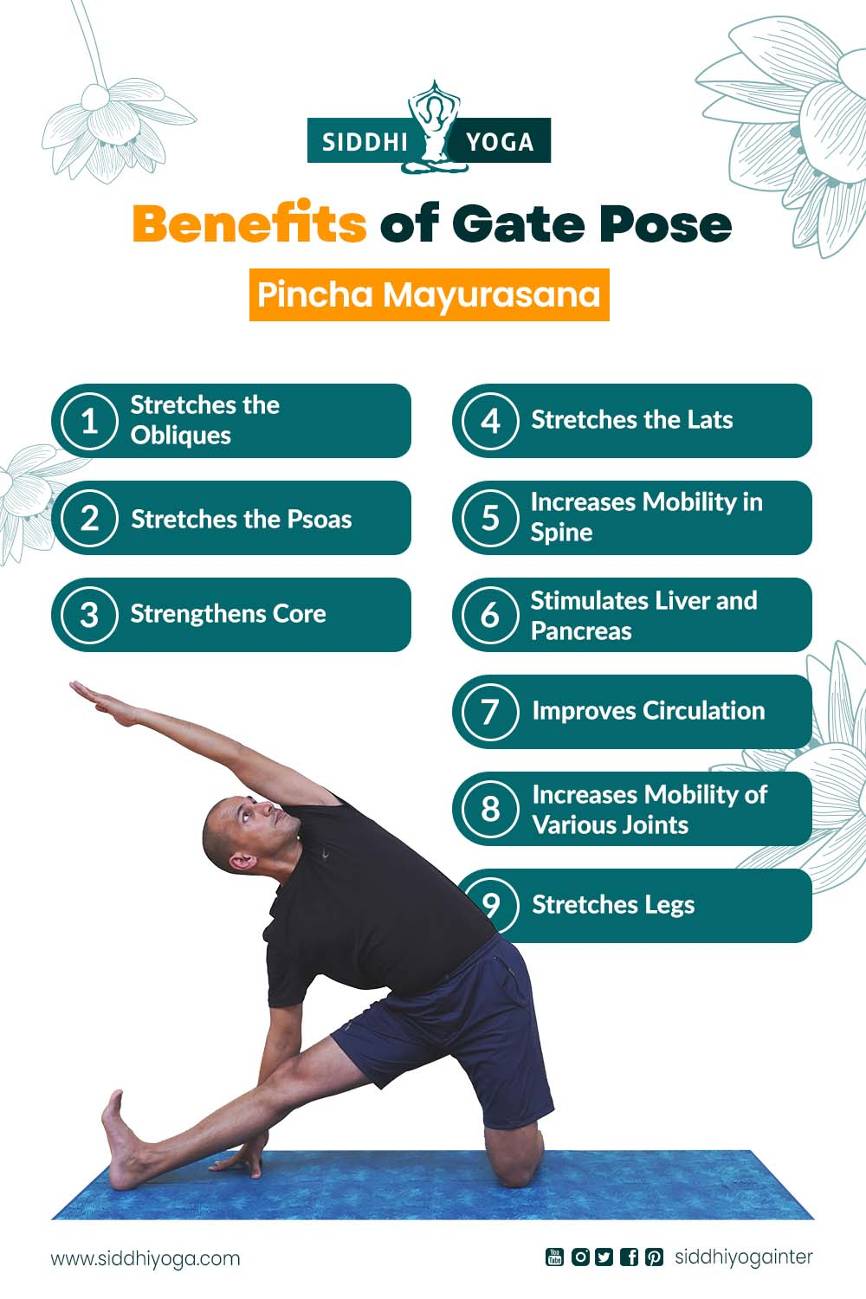
- It helps to improve flexibility in the spine, ribcage, and hips.
- The pose improves balance and posture and stretches the intercostal muscles.
- Relieves back pain and improves breath control.
Who can do it?
Most people can practice it safely, but modifications are necessary for people with a certain medical condition or if a person wants to go into a deeper pose. Pregnant women should practice in front of a yoga teacher.
Who should not do it?
People with severe back problems, knee injury or shoulder injury, high blood pressure, or digestive issues should either avoid or modify the pose.

Introduction
“Parighasana” Gate Pose is a lateral stretch where the stretched body with arms up looks like a gate. It involves the use of intercostal muscles which helps the lungs to work to their fullest. The practitioner extends one leg to the side, keeping the other knee on the ground. The arms are raised overhead, creating a T-shape with the body. It requires balance, flexibility, and proper alignment to perform the pose effectively. The pose gives a great side body stretch which helps maintain a strong spine and increase the range of motion of various muscles.
Chakra and Philosophy
Parighasana Gate Pose activates the Sacral chakra, Manipura Chakra (Solar Plexus Chakra), and Anahata Chakra (Heart Chakra). The Gate pose helps to release emotional blockages and enhance creativity. It also helps to enhance personal power, confidence, and inner clarity. As the chest opens in this pose, it balances feelings of love and compassion.
Just as the Gate stands firm and balanced, the pose helps people stay firm and balanced. The lateral stretch in the pose helps to expand and grow as an individual, thus motivating people to try new experiences in life and become mentally and emotionally strong. As the pose works on various chakras, a person becomes more receptive with increased inner awareness and mental clarity.
How to Do Parighasana?
Follow the Step-by-Step Procedure
- Begin by kneeling on the mat with your knees hip-width apart.
- Stretch your right leg extended to the side, keeping the sole of your right leg on the mat. Your right toes of the right leg should point straight in front, and your right heel should be in line with your left knee with no strain on the stretched right leg.
- Inhaling with deep breath, stretch your arms on your sides and reach the left arm up to your left ear. Keep your foot flexed and chest open.
- Exhaling, move your trunk on the right side towards the stretched leg. Keep your right wrist and forearm on the right ankle and shin, respectively. Keep your right palm facing upside down.
- Gradually lift your left palm over the head and stretch with your left foot firmly placed. Tilt your head slowly upwards.
- Hold the gate pose for a few breaths. Breathe deeply.
- Breathe normally and switch sides. Keep your gaze straight ahead or slightly upward to maintain balance and stretch.
- Engage your core muscles to support your spine and balance. Avoid forcing your body into the stretch·
- If you have knee discomfort on the extended leg, you can place a cushion or yoga block under it. Maintain deep breathing throughout the pose.
What are the Benefits of Parighasana?
- Increases core strength, and spinal mobility enhancing poor posture, thus increasing the overall strength of the body.
- As it encourages good breathing the pose strengthens the respiratory system.
- People who have a tight body can practice the Gate pose to improve their flexibility.
- Digestive issues are solved due to stretching and twisting of the abdominal muscles. Hence, it strengthens the digestive system.
- It is a heart-opening pose that calms the nervous system.
- People having pain in the lumbar region find benefits with the practice of the Gate pose.
- People who want to practice on an advanced level and want to go on deep stretches can practice the pose as a base pose.
Health Conditions that Might Improve with Parighasana
- Parighasana engages the abdominal muscles, making it useful to strengthen the core, helping alleviate lower back pain.
- The twisting action involved in Parighasana stimulates the abdominal organs and helps improve digestion, hence beneficial for individuals with mild digestive discomfort such as constipation or IBS.
- The Gate pose opens the chest and expands the rib cage, making the cardiovascular system healthy and disease-free.
- Gate pose offers relief from mild to moderate lower back pain by stretching and strengthening the muscles of the lower back.it is a good pose for people suffering from asthma or COPD.
- The Gate pose massages organs such as the spleen, intestines, kidneys, and pancreas, so helps in hormonal imbalance issues.
Safety and Precautions
- People with severe back problems, spinal injuries, ankle injuries, or chronic back or neck pain should avoid Parighasana, as it may worsen the condition due to lateral stretching.
- People with acute or severe knee or hip injuries should modify or skip the pose.
- Those with uncontrolled high blood pressure should avoid holding their breath or overexerting, as this can raise blood pressure further. Maintain steady, even breathing.
- Pregnant women should modify the pose. Consulting a prenatal yoga instructor is advisable.
- People with severe digestive disorders or acute abdominal pain should avoid the pose as it will strain abdominal organs.
- extremely inflexible People should start with modifications and slowly progress. it is a very beneficial pose.
Parighasana and the Breath
- Start with an upright kneeling position. Inhale and exhale, stretch your left hand over your head and right leg to the right side. Keep your left leg bent on the floor.
- Inhale and exhale, relax and move your head to the right side, keeping the chest lifted and shoulders relaxed. Engage your core. Keep your left hand stretched towards the left ear, rest your right hand to the right leg and look slightly up to lift your chest.
- Inhale and exhale. Find balance in the pose. Your toes should be aligned properly. Use props if needed. Maintain a few deep breaths till you are comfortable in the pose. Hold the pose for a few deep breaths.
- Release the pose slowly by releasing your arms and relaxing your legs as in the starting position. Repeat the same pose switching sides and turning to your left this time.
Common Mistakes
- Start with a few stretches to open your body, especially your hips, hamstrings and shoulders.
- Do not lean too down during the side bend. Practice on both sides.
- Keep your shoulders relaxed and spine straight. Engage your core and practice Ujjayi breathing.
- Focus on correct alignment and progress slowly. Use props and modify the pose if needed.
Variations
Parivrtta Parighasana
This is a variation to stretch your quads and hamstrings and relieve lower back pain.
Side Plank
This variation gives a good side stretch with improved balancing.
Wall-Assisted
Practice with your body against a side wall. This can help with balance and stability.
Kneeling with a Twist
After performing Parighasana on one side, add a twist by reaching your top arm down and across the extended leg, thus twisting your torso. You can also do variations with a side plank position.
Follow-Up Poses
- Child’s Pose (Balasana)
- Downward-Facing Dog (Adho Mukha Svanasana)
- Upward-Facing Dog (Urdhva Mukha Svanasana)
- Cat-Cow Pose (Marjaryasana-Bitilasana)
- Extended Triangle Pose (Utthita Trikonasana)
- Revolved Triangle Pose (Parivrtta Trikonasana)
- Seated Forward Bend (Paschimottanasana)
- Supine Spinal Twist (Supta Matsyendrasana)
- Breathing Exercises (Meditation and Pranayama)
The Physical Alignment Principles for Parighasana
- Begin by kneeling position on the mat.
- Make sure that the top of your foot points out while kneeling in the pose.
- Make a firm balance of your right foot extended with the left knee. The toes of the right foot should be pointing out. The right knee should not be hyperextended.
- Lift both the arms making a T. T-shape, and focus on stretching the entire right side of your body as much as you can. Turn your hip forward to give a nice side-body stretch. Avoid unnecessary strain.
- Your shoulders should not collapse or round. Keep your gaze straight in front. Engage the core, and maintain normal and steady breathing. Keep your toes facing outward and palms facing up.
- Do not overstretch into the pose.
- Bend your knees till you feel the right stretch without unnecessary tension.
- Keep your core muscles involved to avoid any tension in the lower back. Modify or use props if needed.
FAQ’s
What is the modification of Parighasana?
You can modify the gate pose by using a folded blanket under your foot or practicing in front of a wall and pressing your foot against the wall.
What muscles are engaged during the Gate Pose?
The Gate yoga pose involves the gluteus, hamstrings, quadriceps, hip flexors, claves, psoas muscles, triceps, bicep, pelvic, inner thigh, and shoulder muscles.
Which poses can we use as the preparatory poses for the Gate Pose?
Adho Mukha Svanasana (Downward Facing Dog), Virasana (Hero Pose), and Badha Konasana (Bound Angle Pose) can be practiced as the Preparatory Poses for the Gate Pose.
The Bottom-Line
The Gate Yoga Pose is a great way to start your daily routine. It is followed in gymnastics culture and then introduced in modern yoga. The yoga pose focuses on the lateral stretch of the upper body and is one of the simple poses. Although it is an easy pose, which stretches the whole body but may be challenging for some, who may find difficulty in balancing, stretching, and gazing up. But when practiced regularly, it improves your strength, flexibility, and overall well-being.
Yoga is not just a practice; it’s a way of life. Take the first step towards a meaningful career by enrolling in our comprehensive online yoga teacher training courses. Choose from 200-Hrs Yoga Teacher Training, 300-Hrs Yoga Teacher Training, or 500-Hrs Yoga Teacher Training Programs – all crafted to help you master the art of teaching yoga. Embrace your passion, become a certified yoga instructor, and empower others to find their inner peace and strength.
Responses