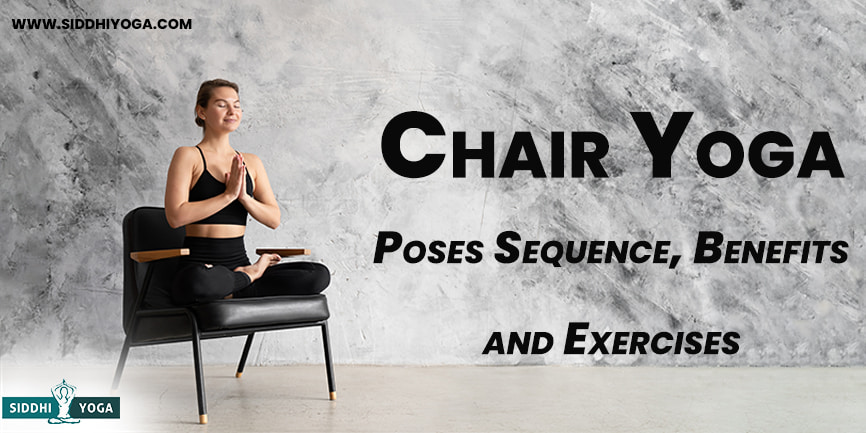
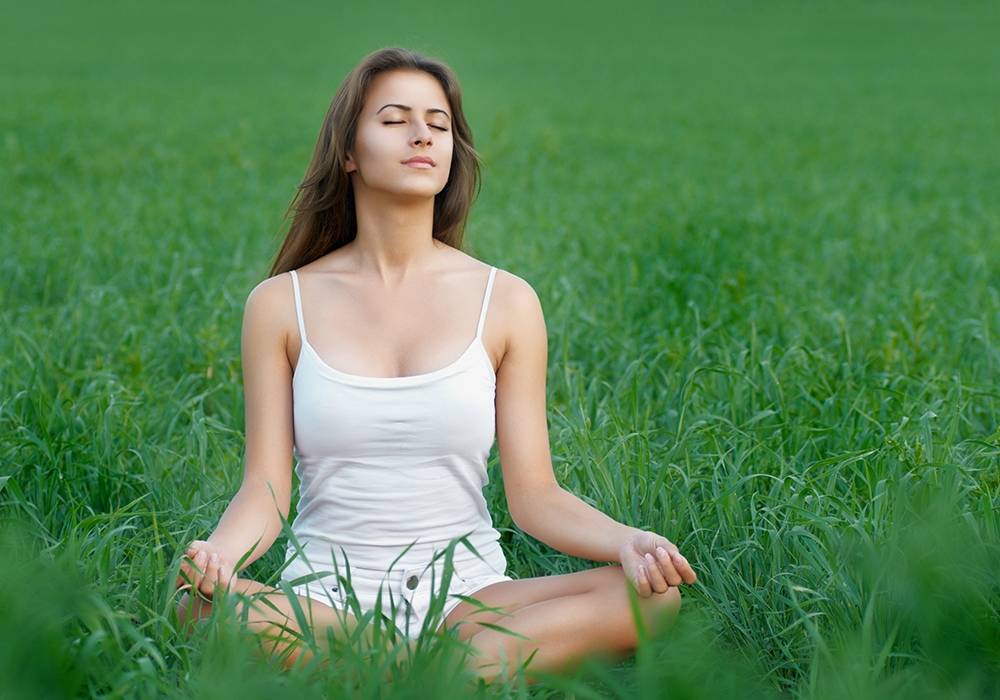
Chair yoga is a gentle type of yoga that is practiced—you guessed it—in a chair. It’s perfect for the elderly and people who have problems with mobility or chronic pain.
Chair yoga has been shown to improve flexibility and mobility in those who have trouble moving freely. It helps us utilize the mind-body connection, which becomes more and more important as we age.
Who is Chair Yoga Really For?
Everyone. We hear a lot that yoga is for everybody. But what about those who have disabilities or who find themselves unable to move in certain ways?
Chair yoga is actually for everybody. Whether you’re in your prime or you’re in your golden years, you can do chair yoga! People with arthritis, pregnant women, seniors, and kids can do chair yoga, as well.
And no matter who you are, you’ll benefit from this gentle yoga no matter your age or physical condition.
What Kind of Chair Should You Use?
When it comes to chair yoga, it’s best to keep things simple. You definitely don’t want to use a chair with wheels, and armrests may also cause problems if you want to move your arms or legs.
Look for a basic but sturdy folding chair. Using one that has a hard seat and back is ideal; in this case, less is more.
6 Top Benefits of Chair Yoga
1. Improves Flexibility
Many people assume that flexibility is one of those things that goes away with age. But in actuality, flexibility takes practice.
If you don’t do anything to stretch and lengthen your muscles, then, of course, you will lose flexibility. But if you maintain a consistent practice, you can stay flexible through all your years, not just your ‘prime’ ones.
Chair yoga is an excellent way for people who’ve been on a stretching hiatus to incorporate more lengthening into their physical routine.
Anyone who has a difficult time reaching down to touch their toes, turning their head to either side or even reaching across their body, will benefit significantly from chair yoga.
2. Improves Strength
Chair yoga strengthens all of those tiny stabilizer muscles that we use every single day. The muscles and tendons around the ankles, shoulders, and hips will be engaged at some point in a chair yoga session.
These muscles are the ones that will protect you from getting injured if you fall down or misstep. A stronger body is better able to stand up to and heal from injuries.
3. Increases Body Awareness
Chair yoga forces you to bring your awareness into your body. As you deepen your breath and slow down your movements, you’ll begin to train your brain to focus on your body more.
Having body awareness promotes a powerful unity between body and mind, mindful interaction with the world around us, and a greater sense of self.
Chair yoga encourages deep breathing techniques, which helps you tune into what’s going on in the body and stay present.
4. Reduces Stress, Promotes Relaxation
We all need to set aside time to slow down every once in a while. Chair yoga is perfect for anyone who is stressed, overworked or just needs a few minutes away from the hustle of everyday life.
When we give ourselves an opportunity to take a break, even just for a few minutes, we regain mental clarity and relaxation. Being relaxed and calming down leads to feelings of happiness and well-being. And everyone can benefit from that!
5. Meet New People
If you can find a chair yoga studio nearby or even a retreat that specializes in chair yoga, it can be a great place to meet new people.
Young or old, we all benefit greatly from socializing. Chair yoga is a great way to meet like-minded people from all walks of life. This is especially beneficial for the elderly or those who aren’t able to get out a lot.
6. Pain Management
Pranayama (Breath practice) that we do in chair yoga—and all types of yoga—can help with pain management.
We learn how to respond rather than react to our emotions, making it easier to cope with difficult situations like chronic pain, or even just moments of stress.
Mindfulness and paying attention to the breath remind us to simply keep breathing when the going gets tough.
6 Chair Yoga Poses with Video Instructions
We’ve rounded up five different chair yoga poses to get you started in your practice.
1. Chair Cat and Cow
Benefits: Cat and Cow pose is a classic yoga pose that helps build the connection between the lower spine and the pelvis, as well as the upper spine and the shoulders. Luckily, it can easily be done in a chair!
Sit close to the edge of the chair. On an inhale slowly arch the back, bringing the chest forward and drawing the tailbone and shoulders back.
On an exhale, round the back, drawing the chest back and drawing the tailbone and shoulders forward.
Repeat 3 to 5 times
2. Chair Forward Bend
Benefits: Here’s another great way to lengthen the hamstrings and prevent pain in the hips and lower back!
This time we’ll stand behind the chair. Place both hands on the chair back shoulder-width apart and walk back slightly until the trunk starts to fold towards the floor. Keep a slight bend in the knees and keep the back very straight as you fold forward. Keep some weight in the chair back for support.
On an inhale press into the chair back and return to a standing position.
3. Chair Eagle Pose
Benefits: This is a great variation of a classic yoga pose that can be performed in a chair. When performed regularly, it’s a great way to relieve sciatic pain.
Cross the left leg over the right leg so the knees are close together. If mobility allows, move the right foot slightly forward and wrap the left toes around the left leg.
Cross the left elbow over the right elbow and hold the arms at a 90-degree angle, with the fingers pointed towards the ceiling.
Hold the pose here or experiment with taking the weight off the chair and balancing.
4. Chair Warrior One Pose
Benefits: This is a great way to use a chair in order to make a classic strength-building pose more accessible.
Sit towards the left side of the chair and open the right leg out to a 90-degree angle relative to the front of the chair. Open the left leg and reach it behind you, keeping only a slight bend in the knee. Open the chest to the right.
Press the balls of the left foot into the floor, heel up. Press strongly into both feet and experiment with taking the weight off the chair. If the pose is comfortable, lift the hands up overhead and hold here.
Repeat on both sides
5. Chair Yoga Warrior II Pose
Benefits: Just like Warrior One, Warrior Two can be modified for a chair as well.
Sit towards the left side of the chair and open the right leg out to a 90-degree angle relative to the front of the chair. Open the left leg and reach it to the left, keeping only a slight bend in the knee. Keep the chest open to the front.
Press strongly into both feet and experiment with taking the weight off the chair. If the pose is comfortable, reach the hands away from each other and stretch the arms to opposite sides of the room.
Repeat on both sides.
6. Chair Yoga Pigeon Pose
Benefits: This classic pose is great for opening the hips. Using a chair as a prop can make it far more accessible for people with tight hips.
Sit towards the left side of the chair and open the right leg out to a 90-degree angle relative to the front of the chair. Turn the chest right to a 45-degree angle relative to the front of the chair. Bring the right leg on to the chair, closing the joint halfway. Reach the left leg back and press the toes into the floor, heel up.
This pose may not be appropriate for people with knee pain or very stiff hips.
14 Chair Yoga Exercises with Video Instructions
1. Elbow Rotation
Benefits: This simple stretch can help to relieve stiffness in the shoulders and upper back from prolonged periods of sitting.
Sit up tall in your chair. Place the fingertips on the shoulders and keep the elbows relaxed.
Bring the elbows forward so that they are close to touching. Begin the rotation by lifting them up towards the ceiling, keeping the head lifted. Separate the elbows and move the elbows back and down, completing the rotation. As the elbows separate, the shoulder blades should come together. Perform this movement as slowly as possible for maximum benefit.
2. Hip Stretches
Benefits: This exercise is fantastic for relieving tightness in the hips and lower back, as well as relieving irritation to the sciatic nerve.
- Begin by sitting forward, towards the edge of the chair. Place the right heel on the left knee in a “figure four” position. The knee will fall out to the right side. Begin leaning gently forward until you feel a stretch in the right hip joint. To deepen, press the knee gently down with the elbows. If there is any strain or pressure in the knee, back off a little bit.
For maximum benefit, repeat the pose a second time before moving on.
Make sure to repeat on the other side. - Sit slightly to the right side of the chair, so the right hip is slightly coming off the chair. Cross the right leg over the left so that the knees are close to touching. Take hold of the right foot with the left hand. Keep this foot elevated as you lean forward, deepening the stretch.
Repeat the pose a second time before moving on and make sure to repeat it on the other side.
3. Ankle Rotations
Benefits: We often overlook the mobility and strength of our feet, but this is a key factor in maintaining mobility and independence as we age. These exercises can help.
- Place the right heel on the left knee in a “figure four” position. The knee will fall out to the right side. Hold the right ankle to the left thigh with the right hand and place each of the fingers of the left hand between the toes of the right foot.
Use the left hand to guide the foot in a slow rotation through its whole range of motion. Make sure to perform the movement in both a clockwise and counter-clockwise direction.
Repeat on both sides. - Straighten the right leg, holding the foot in space. Begin by flexing the foot so the toes are coming back towards the body and perform a slow rotation of the ankle. Perform this movement in both a clockwise and counter-clockwise direction.
Repeat on both sides.
4. Knee Strengthening
Benefits: Discomfort in the knees is a common complaint in aging populations. As we age, it’s very important to build strength around the knee joint by performing exercises like these.
- Begin by placing a thin but firm cushion between the knees and draw the feet close together. Sit up straight and keep the legs at a 90-degree angle
Press the knees firmly together, squeezing the pillow. Hold for 15 to 20 seconds and repeat 3 to 5 times. - Place the cushion underneath the thighs. Straighten the right leg, lifting it off the floor. Press the thigh strongly down against the cushion and flex the toes towards the body. Hold for 10 to 15 seconds and repeat 3 to 5 times
Repeat with the other leg. - In this exercise, we combine the previous two. Squeeze the cushion between the knees and slowly lift the right leg until it is straight, keeping the cushion between the knees. Hold for 10 seconds and then lower with control.
Repeat on the other side
5. Chair Backward Bend
Benefits: This exercise can help compensate for slouching in the back during periods of prolonged sitting.
Begin by sitting at the edge of the chair with the legs at 90 degrees. Hold the backrest of the chair with the arms straight, opening the chest and drawing it forward. Expand through the whole front of the body, lifting the chin without throwing the head back. Allow the spine to arch gently.
Be mindful, if there is any pinch or spasm in the back then back off slightly or release the pose and try again later.
6. Chair Twist
Benefits: Twisting through the back can help energize the body and rejuvenate the health of the spine.
Sit with the legs off the left side of the chair. Hold each side of the chair back and draw the chest towards the chair back, twisting to the left. Use the arms to gently bring yourself deeper into the twist. Make sure to lengthen through the spine as you twist, drawing the crown of the head towards the ceiling.
Make sure there’s no pinching or pressure in the spine. This movement should be comfortable and pain-free. Be mindful and gentle.
7. Chair Lateral Stretch
Benefits: After twisting or bending the spine, it’s important to also perform a lateral stretch so that the spine’s full range of motion is accessed.
Sitting at the edge of the chair. Spread the knees as far apart as you are able, to a 90-degree angle if possible.
Place the right forearm on the right thigh and press gently into the thigh. Reach the left arm over the head and start reaching towards the right side of the room, stretching through the whole left side of the body.
After holding for 3 to 5 breaths, repeat on the other side.
8. Forearm Stretches
Benefits: Wrist health is especially important in this day and age, as we spend more and more time working at a computer or on a mobile device. Forearm stretches are indispensable.
- Sit with the knees apart towards the back of the chair. Place the right palm on the chair with the fingers pointing back towards the body, stretching through the wrist. If there is no pain, you can press gently. If there is some pain or pressure, it might be easier to rotate the fingers out towards the right a bit.
After repeating both sides, it may be beneficial, and slightly deeper, to do both hands at once - Hold the right arm out in front of the body with the fingers pointing towards the ceiling and use the left hand to pull the fingers back gently. Hold for 2 to 3 breaths.
Rotate the hand so the fingers face the floor and repeat.
Repeat on both sides.
9. Breathing Exercises
Benefits: In Yoga, one of the deepest aspects of the practice is on breathing. Luckily you can do most yogic breathing exercises perfectly well while sitting on a chair! Here are just a few.
- Inhale slowly and deeply. While you inhale, open the arms up wide, expanding through the chest. Keep them straight
Exhale with control. While you exhale, draw the arms back together, connecting palms in front of the body
Repeat 5 to 10 times - Begin by holding the arms out straight in front of the body, parallel to each other. Inhale slowly and deeply. While you inhale, lift the arms up overhead.
Exhale with control. While you exhale, lower the hands back to the starting position.
Repeat 5 to 10 times. - Begin with the arms straight along the sides of the body. Inhale slowly and deeply. While inhaling lift the hands overhead in a wide arc, reaching away from each other until they meet at the top.
Exhale with control. Return the hands slowly back to the starting position, keeping them straight.
Repeat 5 to 10 times
10. Vertical Spine Stretches
Benefits: This pose helps to elongate the spine, stretches the muscles of the back, and energizes the body.
Begin by sitting up tall at the end of the chair. Bring the hands together into a prayer position slightly away from the chest, stretching through the wrists. Press the palms into one another.
On an inhale lift the hands above the hand and reach as high as you can over the head and lengthen through the spine as much as possible. Try to lengthen further with every inhale. Hold for 3 to 4 breaths.
11. Hamstring Stretch
Benefits: Tight hamstrings are an all too common cause of hip and lower back pain. Regular lengthening of the hamstrings helps us to prevent this pain and maintain balance and mobility in the legs.
- Sit with your legs off the right side of the chair and your right arm supporting you on the chair back. Lift the left foot on to the chair and take hold of the foot with the left hand. Slowly straighten the leg until you start to feel a stretch. Keep the back straight.
Repeat on both sides - Sit at the edge of the chair and straighten the left leg, keeping the heel in contact with the floor. Keep a slight bend in the knee as you start to fold forward with your back straight. Be careful not to round the spine as you fold forward.
Repeat 2 to 3 times then repeat on the other side.
12. Wrist Mobility Exercises
Benefits: Here are some more wrist mobility exercises for all you keyboard warriors out there!
- Hold the arms out straight in front of the body with the hands in fists. Keep the forearm facing down and don’t bend the elbow. Rotate the wrists through their whole range of motion, as slowly as possible. Repeat 10 times clockwise and 10 times counterclockwise.
- Hold the arms out straight in front of the body with hands outstretched, palms towards the floor. Without moving the arms or rotating the forearms move the fingers as far to the left as you can, keeping the palms facing the floor. Then, move them to the right before returning to the first position. Repeat 10 times.
- Hold the arms out straight in front of the body with hands outstretched, palms towards the floor. Without moving the arms or rotating the forearms reach the fingertips towards the ceiling. Then, reach the fingertips towards the floor before returning to the first position. Repeat 10 times.
13. Scapular Movement
Benefits: Building flexibility in the shoulder blades can help prevent hunching when sitting for long periods of time. Here’s an exercise that can help.
On an inhale, open the arms, keeping the elbows only slightly bent. Draw the shoulders back and the shoulder blades together.
On an exhale, draw the elbow together in front of the body, rounding the upper back. Draw the shoulders forward and the shoulder blades away from each other.
Repeat 10 times.
14. Surya Namaskar in a Chair
Benefits: For those of us who have limited mobility, injuries, or other conditions that prevent us from performing the full Sun Salutation, there is always the option of modifying it by using a chair.
- Begin with the back of the chair behind you. It may be beneficial to support your back with a cushion on the lower back, and it may also be beneficial to keep a pillow under your buttocks.
- On an inhale lift the arms up over the head and gently lean back against the back of the chair being careful not to let the neck fall too far back.
- On an exhale, keeping the back straight slowly drape the trunk over the legs, sliding the hands along the shins.
- On an inhale, slide the hands back up and come back to a seated position, drawing the right knee in towards the chest. Lean into the chair back and open through the chest.
- On an exhale round the back and draw the head towards the knee, dropping the shoulders.
- Release the right leg. Repeat on the other side.
- After both sides are complete, reach your arms overhand and lean against the back of the chair, perform another forward bend, come back and perform one last backbend, and return to an upright position with the hands in prayer position.
Conclusion
Chair yoga is a great way to relieve stress and improve overall physical health. You can do it in the comfort of your own home or within the community of your local studio.
It truly is a type of yoga for everyone and everybody. If you want to dive into a chair yoga practice, Join our online chair yoga course, designed to help you unwind and stay active from the comfort of your own home.